There are many ways to carve a gnome. Before you begin carving, here are some key points to keep in mind. This project is not only rewarding but also fun. It requires multiple layers and is a great way to learn how to carve a gnome. There are many different ways you can add creativity and flair to your gnome carve. Here are three ways to carve a gnome from wood.
Freehand carving a Gnome
Here are some tips for freehand carving a gnome as a Christmas ornament. Although you can carve a gnome with a knife, it's possible to use a micro V-tool to create fine details on the hat rim and beard. A gnome can be carved in a few hours.
A gnome is an excellent way to demonstrate your skills in freehand carving. They were once popular garden ornaments. You can gauge your ability to carve gnomes from wood and find areas you need to improve. This will be a good way to measure your design, detail, depth and design. Once you're comfortable with the gnome drawing, it's time to start sculpting him.
Whistle carving is a project that every woodcarver should try.
One of the best projects for a woodcarver to tackle is the whistle. A whistle is a simple but useful object that can be carved and can be used to introduce friends and family members to the woodcarving process. If you want your whistle functional, there are some important steps that you should follow. In this tutorial, we will cover the steps involved in carving a whistle, from preparation to the final product.
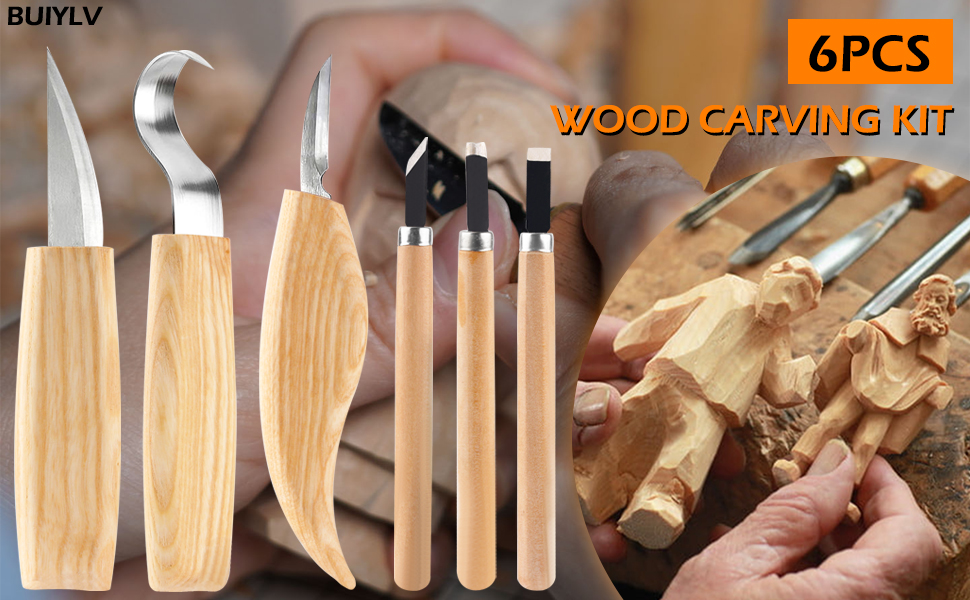
To start the project, you'll first need a straight edged knife and nontoxic oil. Carving a gnome may look intimidating, but it's a relatively easy project that will improve your woodcarving skills and give you a fun outlet. You can also practice many woodcarving techniques with this project.
Creativity in gnome carvings
You can make gnome carvings more creative by simply adding a hat. A wood-carved Gnome can be a fun decoration or a terrifying troll that will make your heart melt. Gnomes add personality and charm to your garden. They can be made from wood, stone and other materials.
Make a gnome of wood
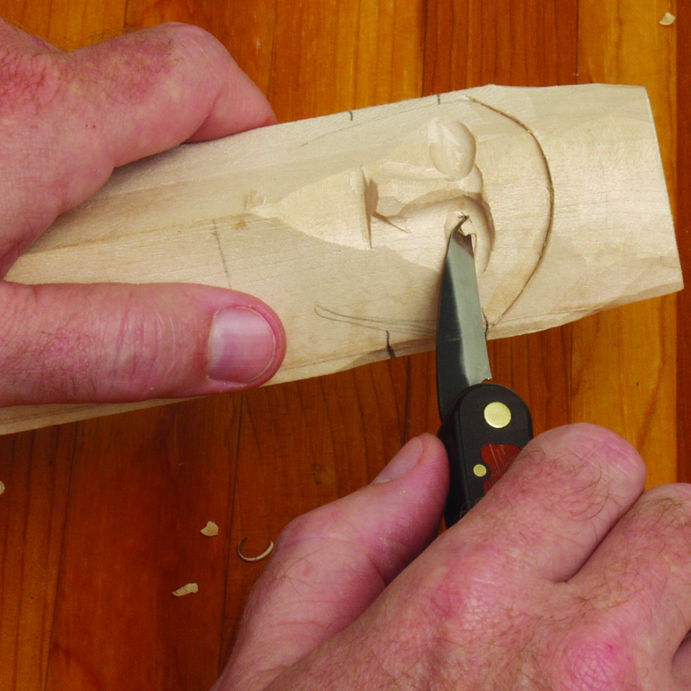
Before carving a gnome of wood, it is important to first determine the size of the block. Drawing the anatomy of your gnome will be easy. It will include the face, body as well as the feet, belt and hat. To create smooth corners, create V-cuts in certain areas of the face. Using a chisel or knife, make V-cuts in the appropriate places. Then, using a micro V-tool, cut out a piece of wood about 1.5mm thick. This will give a nice curved edge that you can use for your hat rim, and beard.
A gnome carving project is very beginner-friendly. Because of the high potential to produce quality work, this is important. If you carve a gnome each week, you will see improvement in each stage. This may not be possible with every project. However, weekly carving progress will enable you to see significant improvements in design shape and facial features.
Adding a gnome to a world of gnomes
Gnomes, like other RPGs, have a recurring character called David. This character isn't crazy. Telepathy, Can Talk Fluently With Animals, and Can't Argue w Elfs are just some of his traits. He can also put up road signs to scare people off. David and Lisa could even have a rivalry.
Gnomes are powerful casters and very skilled at using arcana. They are the only race that can be played in the game. Other gnomes like the undead or leper gnomes share the same animation. Kirin Tor has always been home to gnomes. Meryl, the founding member of the group, had a associate named gnome.
FAQ
What else should I know about woodworking in general?
It is easy for people to overlook the work involved in furniture making. Finding the right kind of wood is the most difficult part. It can be hard to choose from the many types of wood that are available.
Another issue is that wood does not have the same properties. Some woods will warp over time, others will split or crack. These things should be considered before you buy wood.
How can a beginner woodworker make money?
Many people are beginning to learn how build furniture to launch an online business. However, if you're just getting into furniture building, there are other options than selling on Etsy. You can sell at local craft fairs. Offering workshops could be another option for those who are interested in learning how to build their furniture. Perhaps you have some experience as a carpenter/builder and would like to offer your services, such as remodeling homes and creating custom pieces.
Where can I start woodworking?
It is best to actually build furniture to learn how to make it. Although you will need to have tools and may make mistakes along your journey, you'll soon be able to master it.
You should first choose the project you wish to complete. You can make a simple box or a large entertainment center. Once you've settled on a project find a local skilled woodworker. Ask him or her for advice on what tools you'll need and where to find them. Perhaps you could ask if there is someone else who does this type of work.
What type of tools does a carpenter use?
A hammer is the most commonly used tool by carpenters. A hammer can be used to drive nails into wood. They can also use it to hold the pieces together as they work on a project. Other tools include clamps.
How do I identify the type of wood that I am dealing with?
Always check the label before purchasing wood. The label should provide information about the wood species, moisture content, and whether preservatives have been used.
How much money does a hobbyist have to put into getting started?
A lot of capital is required to purchase the necessary supplies and tools if you want to start your own woodworking shop. The best place to start is by buying a small drill press, circularsaw, circular saw or sanding machine. These items aren’t too expensive so you won’t have to break the bank.
Statistics
- Woodworkers on the lower end of that spectrum, the bottom 10% to be exact, make roughly $24,000 a year, while the top 10% makes $108,000. (zippia.com)
- Overall employment of woodworkers is projected to grow 8 percent from 2020 to 2030, about as fast as the average for all occupations. (bls.gov)
- Most woodworkers agree that lumber moisture needs to be under 10% for building furniture. (woodandshop.com)
- If your lumber isn't as dry as you would like when you purchase it (over 22% in Glen Huey's opinion…probably over 10-15% in my opinion), then it's a good idea to let it acclimate to your workshop for a couple of weeks. (woodandshop.com)
External Links
How To
How to make wood joints
This tutorial will teach you how to join two pieces wood together. We'll use the "pocket hole joint," which means we drill holes in the wood and then glue them together. If your wood has a straight grain, smooth surface, you can use this method. Dowel joinery might be a better option if your wood is not straight or flat. These are the steps
-
Drill Pocket Hole Joints. Start by measuring and marking the spot where the pocket hole joint will be placed. You will then drill 3/4" deep holes through each piece of wood with a jigsaw, handheld drilling machine, or hand-held drill.
-
Sand Smooth. Sanding the wood's edges will ensure that the joint doesn't split.
-
Glue both sides together. Apply glue on both sides of the wooden plank. Let the wood sit for 5 minutes, then clamp it together.
-
Secure the pieces together. After the glue has dried thoroughly, secure the pieces so that they are flush.
-
Trim Joinery. Trim any excess wood surrounding the joint once the glue has dried completely.
Make sure to leave enough room between the pieces so that you can turn them inside and out.