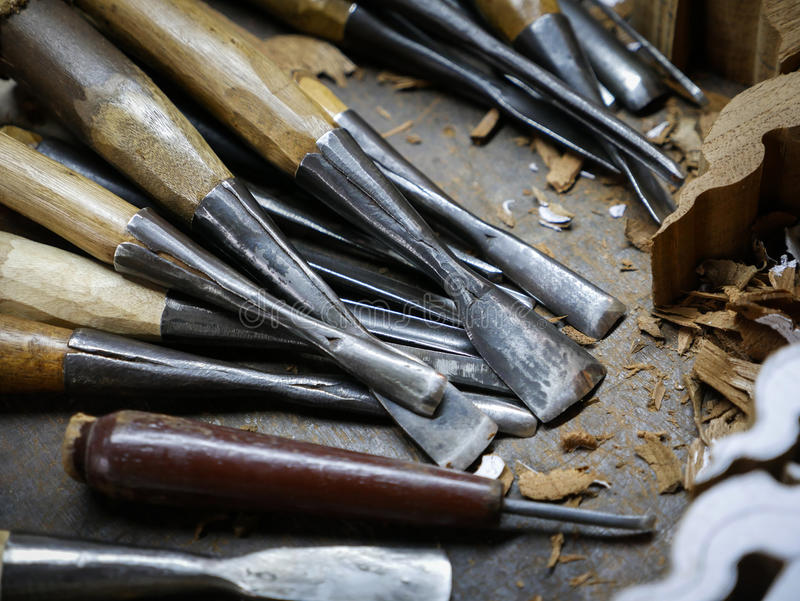
There are many videos online about woodcarving. People enjoy watching Ian's videos because they show the techniques step by step. His videos are delivered in downloadable video files, and include photographs and plans. All purchasers must be able to view MPG videos and JPG images. His videos are not the only thing he offers. He also offers books to help you carve various materials. Ian Norbury's Fundamentals of Woodcarving provides an example.
Woodcarving basics
Consider taking a beginner's woodcarving class. This class will teach you the fundamentals of carving and is tailored to the level of experience of each student. You will learn about safety, tools, wood, finishes, and the fundamentals of woodcarving before diving into more advanced techniques. You will be able to carve a human head, an eagle, and Christmas ornament. Learn about grain direction and how to cleanly remove wood.
A woodcarving class might interest you if you have always wanted to carve fruits or flowers. It's not difficult to learn the fundamentals if you have a natural talent for the craft. No matter your skill level, you will learn the design process and techniques in a relaxed and fun environment. The foundation of woodcarving, as a woodcarver who spent 30 years learning the craft, is finding a teacher who will teach you how to master it.
Ian Norbury
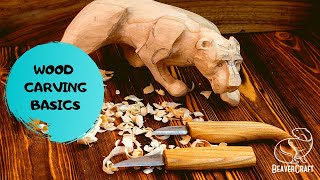
Ian Norbury's woodcarving videos can be likened to looking over the shoulders of a master. Each video shows the steps involved in carving, and the techniques he's used over the past fifty years. In addition to his detailed instruction, these videos are offered free of charge, and even come with a money-back guarantee. You can download them anytime, anywhere and as many times as necessary.
The DVD can be used for both reference and training purposes. The videos contain step-by -step instructions along with clips of Ian Carving. You can follow the entire process from start-to-finish. Ian's instructional method is very easy to follow. You will learn how to carve a Harlequin and draw a character taken from a legend. There are more videos than two hours to choose from and each can help improve your technique.
Frank Russell
Frank Russell's woodcarving videos can be helpful for intermediate and beginner carvers. His techniques can be used to carve animals, birds, or plants. He also shows you how to shape and clean bits. Videos show the process of carving as well as how to create visual concepts. Frank Russell's videos may be downloaded on DVD or streamed online. Fur, Feathers and Fins is a great resource for carving birds and other animals.
Frank Russell's Woodcarving Videos are an excellent resource for advanced and beginner carvers. These videos offer step-by -step instructions for beginners, as well tips for experienced carvers. These videos are made with Foredom Woodcarving Kits. This series also features a Cotton Tail Rabbit carving clip.
Scott Phillips
If you're looking for more information on woodcarving, you may want to watch Scott Phillips woodcarving videos. The PBS show, "American Woodshop," features Scott and his woodcarving skills. He discusses his first woodcarving experience and the time he used his dad's expensive walnut boards. He also talks about how baseball inspired him into creating his first ornamental jewelry box. Scott is also known for his woodcarving videos. He has written a book about the history and evolution of the shuttle program. His upcoming book, "Remove Before Flight" will also detail the history of this program. Although his woodcarving career has taken flight, he still occasionally builds other types of furniture, including clocks and Adirondack chairs.
Kevin Coates
Kevin Coates makes woodcarving videos. He has a YouTube channel with almost seven million views and 26,000 subscribers. His videos have inspired many other carvers to create their own woodcarving videos. These videos will show you how to carve your very own piece of art. These videos showcase carvings by Kevin Coates as well other well-known carvers. You won't find better carving videos than these.
FAQ
How do I choose the right tools for me?
It's important to consider your preferences and needs when buying tools. Do you prefer metal handles or plastic? What size screws and nails do you use most often? Are you more comfortable using power tools than hand tools?
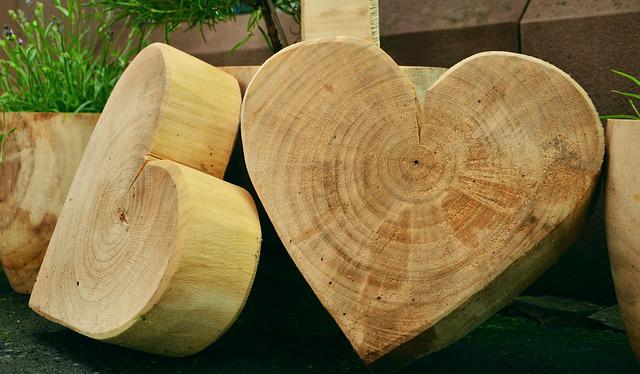
What wood items do well?
Wood that has been harvested sustainably is the best-selling type of wood.
The most popular types of wood for furniture include oak, maple, cherry, mahogany, walnut, and teak.
These woods are very strong, but they also have beautiful grain patterns and colors. They are also very durable if properly maintained.
To prevent moisture damage, wood furniture should always first be painted. This covers all surfaces, drawers included, as well as doors and handles.
A paint that resists water is the best choice to ensure that furniture lasts a long time.
A high-quality oil-based primer should be used, followed by two coats with top coat. You may need to apply several coats of top coat depending on how much wear it is expected.
You should avoid using aerosol paints or spray cans. These products can evaporate quickly and emit harmful fumes.
What is the difference between plywood and particle board?
Plywood is a combination of layers of wood, which are then pressed together under high pressure. Plywood is available in a variety of thicknesses. It is often used to make cabinets or flooring. Particle board is made of sawdust and resin that has been compressed into large blocks. It's commonly used for home improvement projects. Both types of boards are durable and easy to cut.
Statistics
- Overall employment of woodworkers is projected to grow 8 percent from 2020 to 2030, about as fast as the average for all occupations. (bls.gov)
- In 2014, there were just over 237,000 jobs for all woodworkers, with other wood product manufacturing employing 23 percent; wood kitchen cabinets and countertop manufacturing employing 21 percent. (theartcareerproject.com)
- If your lumber isn't as dry as you would like when you purchase it (over 22% in Glen Huey's opinion…probably over 10-15% in my opinion), then it's a good idea to let it acclimate to your workshop for a couple of weeks. (woodandshop.com)
- The best-paid 10 percent make $76,000, while the lowest-paid 10 percent make $34,000. (zippia.com)
External Links
How To
Here are some tips on how to drive nails in wood
When driving a nail into wood, it is important to first choose the correct size and kind of hammer. There are many types of hammers that you will find: claw hammers and sledgehammers; mallets; ball peen hammers; and hatchets. Each type has its strengths and weaknesses. For example, a claw hammer works best when you want to hit something hard, like nails; however, it's difficult to control precisely where the blow lands. Although a sledgehammer can be used to hit large areas quickly, it is too heavy to be useful for small tasks.
Once you have chosen the right hammer for you, put your hand flat against its side so that it rests comfortably in the palm of your hand. Hold the handle in your hand, but don’t force it too hard that you break. Keep your wrist relaxed and the hammer straight up. Then swing the hammer back toward the ground, aiming for the center of the nail. You should feel the impact from the hammer striking a nail. Try swinging a hammer using a block wood to practice until you are comfortable.
Once you are ready to drive the nail, place the hammer close to your body. Position the nail, so it's perpendicular to the surface of the wood. Keep your attention on the tip. Swing the hammer forward, and then move the hammerhead. This can be repeated several times to increase the speed of your swing. Once you have mastered this technique, increase the power of your swings. Try holding the hammer above your shoulder and bring it down forcefully. You will be able to use more energy and put your best foot forward.
Once you have successfully drilled the first hole in the nail, remove the hammer. You can then remove the rest of the nails using a prybar or a screwdriver. You should ensure that the nails are flush with the board's surface to avoid splitting the wood.