A lidded package is a faceplate project. It requires that you square both the box's perimeter and sides. The lid and box are typically cut from the same 2-in thick block of seasoned wood. To square the base, first cut a half inch on each side. Because the final box will rest on the base alone, the center must be slightly recessed. Cut the recess with a small scraper.
Problems with hollowing end grain inside lidded boxes
The hollowing of end grain is a common challenge when box-making. This is a complex process that requires specialist tools. By grinding an old screwdriver, you may be able create a basic hollowing instrument for around $30. A gouge can be purchased and used for this purpose. To hollow end grain, avoid sharp edges. A gouge should be a long, flat bevel with a round fingernail.
One of the biggest challenges of hollowing end grain is that it is five times harder than side grain. It can also be susceptible to tearing. This is one of the reasons why experienced bowl turners often experience problems when hollowing end grain. These problems can be overcome by switching from a gouge or scraper to help, but it is important to note that lidded boxes may require special end grain tools.
Making a snap-fit lidded cardboard box
A snap-fit lidded container is a container that has a sliding closure. These boxes are often filled with liquids or other liquid-filled containers. These boxes are easy to assemble, disassemble, as well as being automated for low assembly costs. There are many snap-fits, so engineers need to choose the most cost-effective, strong, and reliable. This article will provide an overview of all types of snap-fits.
It is crucial to make sure the upper portion of the snap-fit lidded container you are using a 3-D printer has the right measurements. The upper should be flush with the base. The lid should stay in place when seated. The lid should fit snugly. In small pieces, you can remove the wood. This is a difficult process, but it is well worth it.
Wooden lidded box

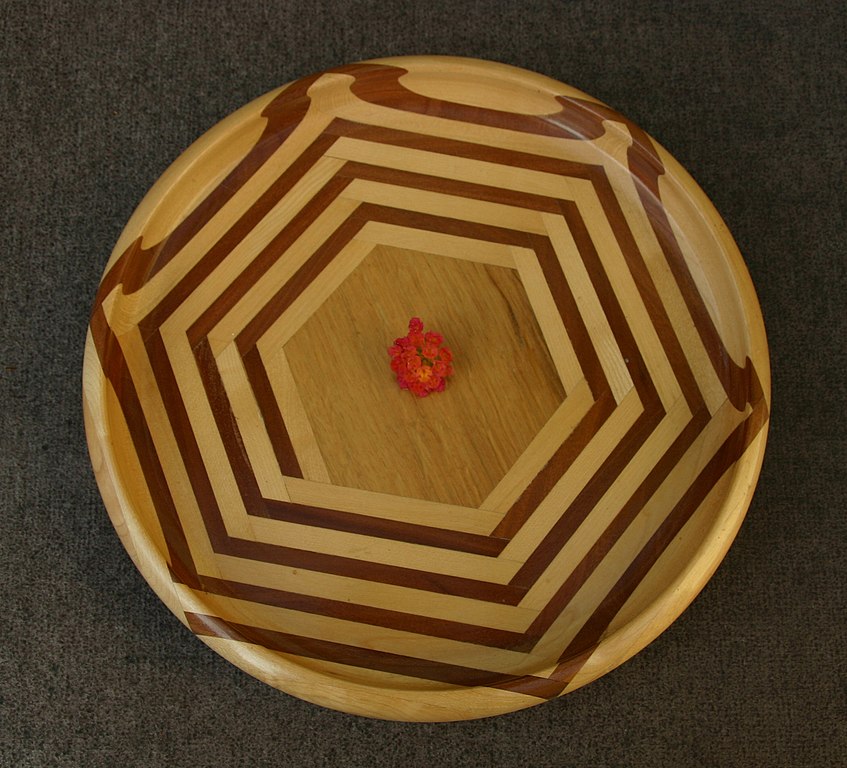
Most of the woods used for lidded box construction are salvaged from trees. Once a tree is harvested, the wood is cured to prevent cracks and rough turned to form a general shape. The wood is then dried again, making it shrink. The lidded wooden box can be made out of various wood types depending on its style. A lid generally consists of two pieces. The smaller one is the top.
Turning small circular containers with lids on a lathe made them into small containers. Boxwood is a slow-growing wood with fine parts and a close grain. Because the grain was very close together, this wood was great for making fine details. This wood was often used to make double-sided, combs. Boxwood was also used to make lid boxes, also known as pyxides.
Size of the lidded bag
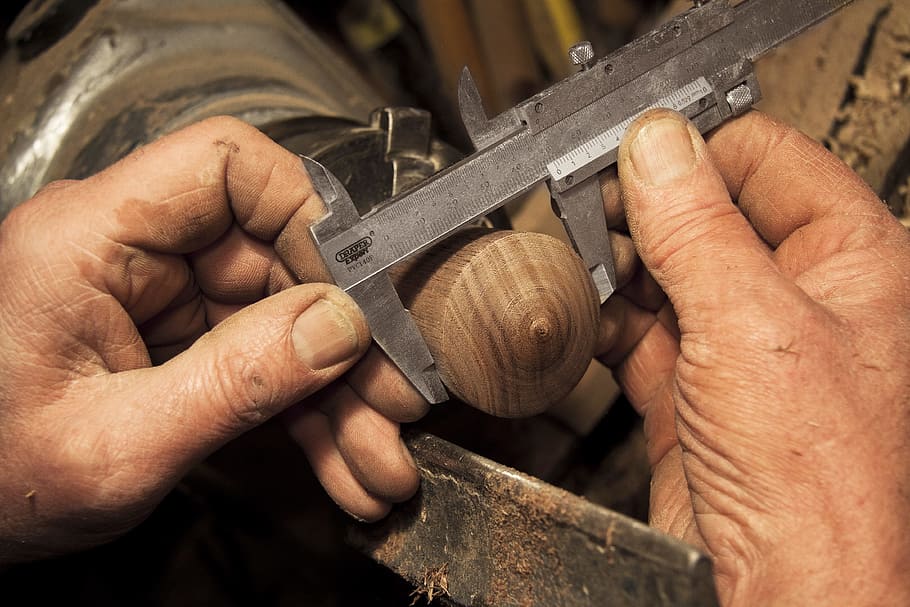
The type of wood that you use determines the size of the lidded container. Maple and cherry are both common choices. These two types are great for making boxes. They have different shrinkage rates. For a quality box, wood should be three inches square and five or six inches long. Make sure the wood is dry when you choose it for your box. You can make an attractive lid using exotic woods. But, you need to be knowledgeable about the process.
Preparing the wood is the first step. To make the bottom smooth and round, a thin file is needed. After that, cut a V-shaped cut at the joint. After you are happy, use a spindle -roughing gouge for the final shaping of the rest. Before you start carving the lid, use a parting tool to mark the bottom of the box. To make a slight chamfer on your lid's base, you can use the skew chisel. This will soften and conceal the slight circularity at your base/lid junction.
FAQ
How much money do you need to get going?
Because every project is unique, there aren't exact numbers. Consider these factors if you need to estimate the amount of money that you will require.
-
Material costs
-
Tools and equipment
-
Time spent on the project
-
Hourly rate
-
How much profit do you expect to earn
-
It doesn't matter if your goal is to hire help
For those just beginning, it may be a good idea to start small with simple items like boxes and picture frames. You will gain more experience and be able to tackle larger projects.
What would be your first step in woodworking?
Start with softwood like pine, poplar and ash. These two are the easiest to master, then you can transition to hardwood.
Do I need to be a genius to succeed in woodworking?
No. No. Woodworking isn't rocket science. To create stunning works of art, anyone can learn to use basic power tools.
Statistics
- If your lumber isn't as dry as you would like when you purchase it (over 22% in Glen Huey's opinion…probably over 10-15% in my opinion), then it's a good idea to let it acclimate to your workshop for a couple of weeks. (woodandshop.com)
- Woodworkers on the lower end of that spectrum, the bottom 10% to be exact, make roughly $24,000 a year, while the top 10% makes $108,000. (zippia.com)
- The best-paid 10 percent make $76,000, while the lowest-paid 10 percent make $34,000. (zippia.com)
- Overall employment of woodworkers is projected to grow 8 percent from 2020 to 2030, about as fast as the average for all occupations. (bls.gov)
External Links
How To
How to make wood joint
This tutorial will demonstrate how to join two pieces together of wood. We will use the pocket hole joint, which is drilling holes in the wood to join them. This method works great if your wood is straight and smooth. If your wood isn't straight or flat, you might want to try another method, such as dowel joinery. Here are the steps
-
Drill Pocket Hole Joints. Start by measuring and marking the spot where the pocket hole joint will be placed. With a handheld drill machine or jig saw, drill 3/4-inch deep holes in the ends of each piece.
-
Sand Smooth. You can sand the edges of the wood to ensure that it doesn't split.
-
Glue Together. Apply glue on both sides of the wooden plank. Let the wood sit for 5 minutes, then clamp it together.
-
Fix the Pieces together. After the glue has dried you can attach the pieces to form a flush joint.
-
Trim Joinery. Trim any excess wood surrounding the joint once the glue has dried completely.
Be sure to leave enough space between each piece so that they can be turned inside-out.