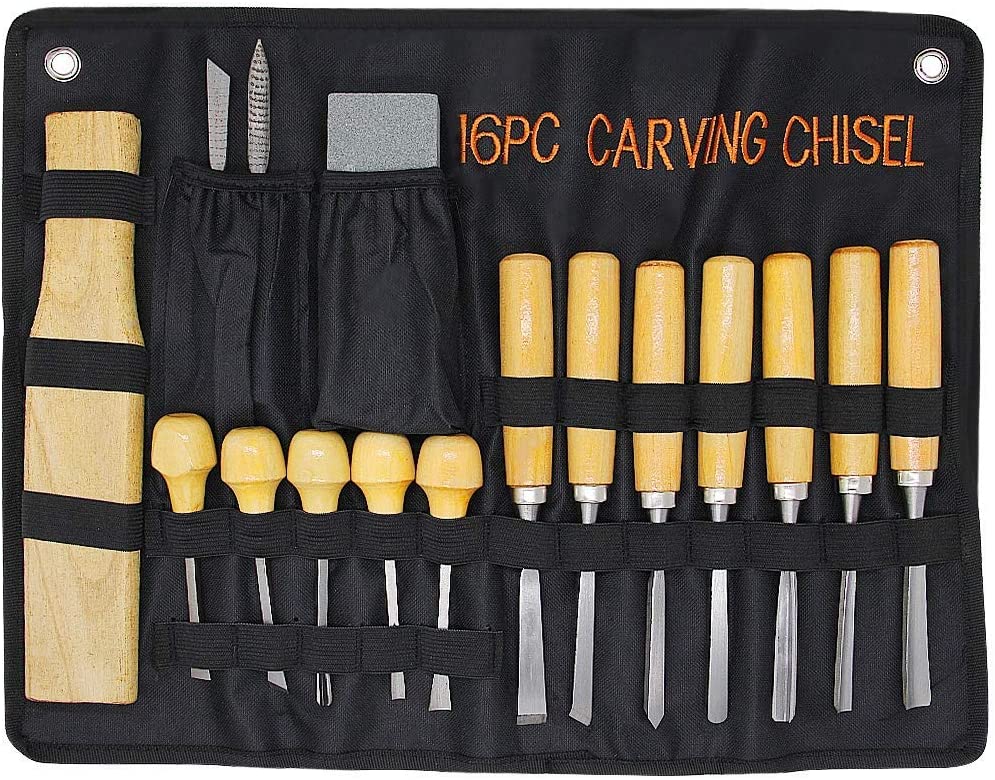
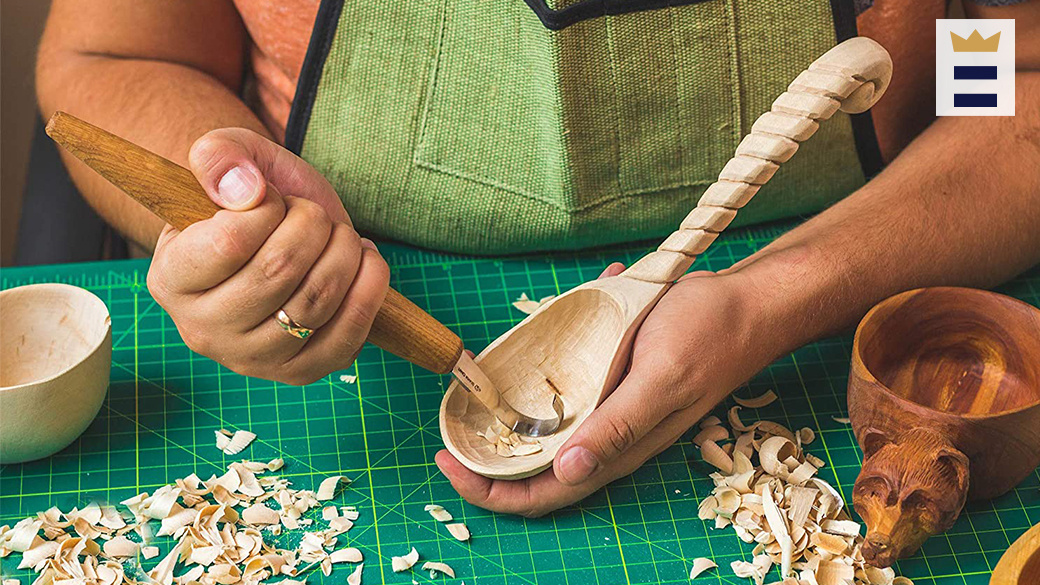
If you're a beginner woodcarver, you might not be sure where to begin. Here are some tips and tricks to help you get started with your first animal carving job.
Dog
You can find many free patterns online for woodcarving dogs if you're an amateur. These patterns will help you to carve your dog in different sizes and styles. Here are some of the tools you will need to carve your dog. A band saw or the coping saw are necessary, along with chisels, mallets, and time to polish. Next, you will be ready for carving!
Eagle
Native Americans have long held the bald Eagle as a symbol for strength, courage, and knowledge. It was approximately 20 inches in diameter and five inches wide. Wood carvings of the eagle are very popular today. There are many options for carving eagles from antique to modern woods. This article will highlight some popular wood carving styles.
Bear
Carving a bear is simple and straightforward. Each line carries additional weight. The front paws of a bear are angled opposite the leg lines for added visual interest. For those who are just starting out in wood carving, a book can help you create a bear. James Miller's book demonstrates the whole process.
Elephant
An elephant wood carving adds character and beauty to any home. 1stDibs has 56 antique carved wooden elephants and two modern pieces. These pieces have been produced as far back as the 19th century, and have become increasingly popular in recent years. You can choose from Art Deco (Mid-Century Modern), Folk Art, or a smaller piece for a subtle addition to your home decor.
Moose
Wood carving of moose can be a rewarding experience. Dowels can hold moose antlers or paddles. Push them in, or glue them in. You can then paint the moose using a walnut gel stain, or you can use paint to color it.
Template for moose
A template for carving moose helps carvers create realistic-looking carvings. You can color moose carvings with paints or stained them with walnut gel stain. After you've learned the basics it is simple to carve this creature. To finish the project, you can use a brush to add fur and eyes or a typhoon tool on a grinder to grind details. The Moose template is ideal for beginner wood carvers who want to carve an animal.
Bear template
You will need a template to start a bear wood carving. You can then use a Dremel instrument to examine the wood features. Stop cuts can then be used to separate the legs of the lower body with this tool. To indicate the split, you can make V-cuts in your legs. You can then round the underbelly after you have completed the leg and ear parts. You should leave enough space in the back for the bear to be shaped.
Eagle template
Three templates are necessary to carve an Eagle. One of them is for the actual carving, the other will serve as your working paper template and will be cut off to transfer patterns. The third template is for reference. You will then use the available tools to cut out the main lines. It is important to ensure that you align the lines with the pattern line. Make sure you align all marks.
Template for mice
There are many designs available for wood carving beginners. This will make the task easier. There are printable patterns that can help you. If you're just starting out, you could start with a simple geometric pattern. Next, you can learn more complex patterns. Once you master the basics of mouse design, you'll be well on your way to designing the perfect mouse.
FAQ
What kind of wood should you use?
Oak, maple, cherry and mahogany are the most common wood types used for woodworking. Every type of wood is different and can have a unique look and feel that will affect the final product. Oak, for example, tends be darker and more hard than other woods. Birch, which is lighter and soft, is more heavy than mahogany. You can also choose from solid wood or veneers. Veneers are thin sheets or wood that are glued together into one layer.
Do you have any advice on how to start a woodworking business.
Starting a woodworking business is a lot of work. But if you're passionate about your hobby, you won't mind putting in the effort. You'll enjoy the challenge and rewards of owning your own business.
When you are launching a new venture, it is important to be aware of the possibility that you will encounter unexpected difficulties. For instance, you might run out of money unexpectedly. Maybe customers won't be willing to pay what you want. You need to be ready for these situations if you want to survive.
One good tip is to set up a separate bank account specifically for your business. This will ensure that you always know how much money has come in.
What else should I know about woodworking in general?
It is easy to underestimate how much work it takes to make furniture. Finding the right wood is the hardest part. It can be hard to choose from the many types of wood that are available.
A problem is that wood doesn't have the same properties. Wooden can split or crack, while some woods may warp. These are important considerations to make before you purchase wood.
How can my shop be organized?
The first step toward keeping your workshop clean and organized is to set aside a designated area for storing tools. You want your tools to stay clean and free from debris and dust. Hang tools and accessories using pegboard hooks.
Where can I get free woodworking plans?
Free woodworking plans are available online. You don't even need to buy books or magazines. Just search Google. Just enter "free woodworking" into the search bar, and you'll see hundreds of websites where you can download free plans.
Statistics
- In 2014, there were just over 237,000 jobs for all woodworkers, with other wood product manufacturing employing 23 percent; wood kitchen cabinets and countertop manufacturing employing 21 percent. (theartcareerproject.com)
- Most woodworkers agree that lumber moisture needs to be under 10% for building furniture. (woodandshop.com)
- If your lumber isn't as dry as you would like when you purchase it (over 22% in Glen Huey's opinion…probably over 10-15% in my opinion), then it's a good idea to let it acclimate to your workshop for a couple of weeks. (woodandshop.com)
- The U.S. Bureau of Labor Statistics (BLS) estimates that the number of jobs for woodworkers will decline by 4% between 2019 and 2029. (indeed.com)
External Links
How To
How to make wood joints
This tutorial will show how to join 2 pieces of wood together. The "pocket hole joint" is a method whereby we drill holes into the wood and glue them together. This method is great if your wood's straight and smooth. If your wood isn't straight or flat, you might want to try another method, such as dowel joinery. Here are the steps
-
Drill Pocket Hole Joints. You will need to measure and mark the exact location of your pocket hole joint. With a handheld drill machine or jig saw, drill 3/4-inch deep holes in the ends of each piece.
-
Sand Smooth. Sanding the edges of the wood will help to prevent the joint from splitting later.
-
Glue Together Apply glue to both the ends of the wood. Allow the wood to rest for five minutes before clamping it together.
-
Secure the pieces together. After the glue has dried completely, you can clamp the pieces together until they are flush.
-
Trim Joinery. Trimming the joinery after glue has completely dried.
To be able to turn the pieces inside-out, leave enough room between them.