
There are many different tools that you could use in your shop to turn. Some of these tools include the Faceplate gouge, Spindle roughing gouge, and Bowl gouge. Some tools are designed to be used on specific types of wood like walnut, oak or other soft woods. Here are some tips to help you select the right tool. Below are the most popular types of turning tools. Weigh your options carefully and make a decision based on your budget.
Turning a faceplate
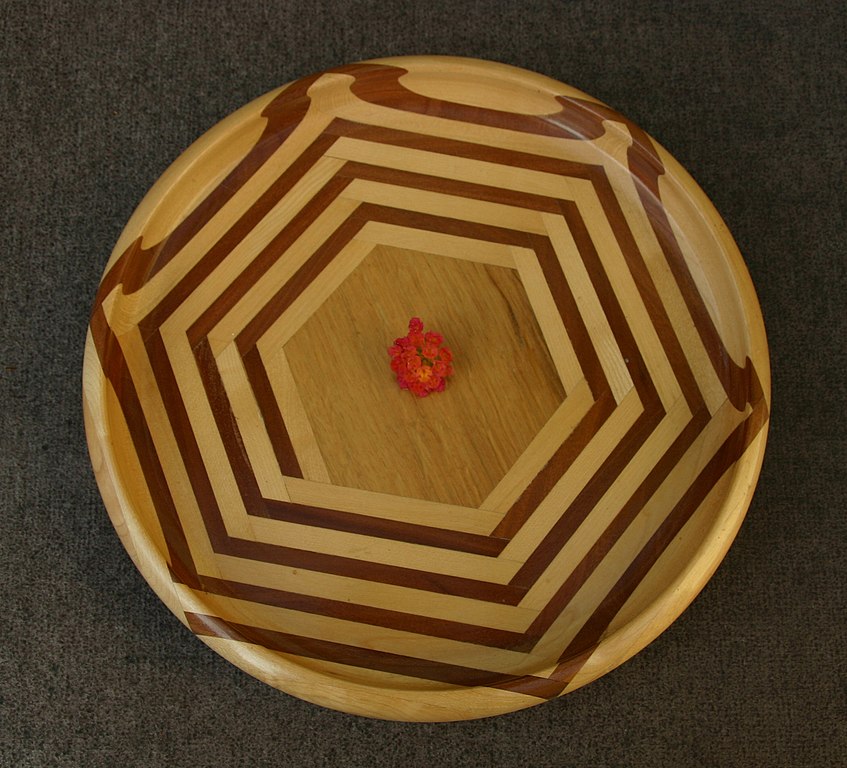
Woodworking techniques can include the use of a faceplate. These faceplates may be simple or more complex. Here are some examples of faceplate work. The trophy base has straight sides while the rosette has deeper beads and coves. Both require great care and attention to detail. Learn more about faceplate turning.
Cuts will be affected by the angle at which a piece of equipment is placed on the work. The shear angle will affect how clean the cut is. A square tool will cut the wood but a 45deg angle will make it easier. A 45-degree angle gives the wood a more smooth finish and makes it easier to cut. Use a sharpening tool or a gouge to improve the appearance of your cut.
Spindle roughing tool
A spindle roughing chisel is used to aggressively reduce square or rectangular blanks of spindle into round cylinders. Unlike the skew chisel, the spindle roughing gouge should not be used to turn bowls. Its cutting blade digs into the ends grain. Nevertheless, it can be used on cross-grain projects, such as turning bottle stoppers.
You should not cut across the grain with a spindle-roughing gouge. The tool's geometry measures 45 degrees. This makes it difficult to cut across the grain. You may also have problems with the tool size or flute shape. This tool is best used by someone who has a lot of woodworking experience. Here are some tips that will help you, no matter if you are a beginner or an experienced woodworker.

Use the right angle first. You should use your back hand to control the spindle and your left hand to guide the tool. You can wipe any dust off your index finger while you're cutting. Next, ensure the cutting edge is in contact with the wood. The cutting edge will leave behind shavings, which are a sign of the proper position. After the wood has been cut you can move on to step 2.
Bowl gouge
A bowl gouge is a high-quality turning tool that is used to remove material from the inside of a bowl. This tool is made out of high-speed stainless steel and has a brass ferrule. To use a bowl gouge, it is important to adjust the tool-rest height to fit the desired bowl shape. Swing the handle forward and backward until the desired depth is reached.
You can find a variety sizes and shapes for a bowl gouge. For beginners, a bowl-gouge measuring approximately 1/2" in diameter is ideal. Wood bowl turners who are more skilled can use a larger gouge to finish their work. A larger gouge with a greater diameter can be used for large bowls, and can also be used as a plow. Different gouge sizes can have different grind profiles. A gouge's cut edge is the curved region around the bevel. It is easy to test its sharpness with a finger.
Skew chisel
To properly use a skew chisel for turning wood, you must first master the basics. Before you can cut with the skew chisel, it is essential to understand how to do both shallow and long taper cuts. The heel of the edge of the skew should be used to adjust the angle between the spindle and the chisel. Ideal for V-cutting and planning, as well forming beads, is a 20-30 degree angle.
You can quickly and easily cut V-grooves using a skew tool chisel to turn wood. The first step is to position the toolrest at a high level. Next, place the long point of your tool to draw the centerline for the V-groove. Next, lift the handle to create a deeper groove. Then alternate between cutting to the right or left until you get the desired groove depth. Once you have completed the cut roll the skew’s endbevel to the side.
FAQ
How do I know what tools are best suited for me?
It is important to consider your needs and preferences when shopping for tools. Do you prefer metal or plastic handles What size nails and screws do you usually use? Do you prefer hand tools over power tools?
What woods are suitable for making furniture?
Woods can be classified according to how hard they are. Softwoods include cedar, pine, cedar, and Cypress. Because they are resistant, they can be used for outdoor furniture. The hardwoods include teak, maple, mahogany and oak. They're generally used indoors because they won't weather well outdoors.
What is the average time it takes to finish furniture?
It depends on which wood you choose, how complicated your design is and what amount of finishing you apply. Hardwoods require more care than softwoods. Hardwoods also tend to be more expensive than softwoods. They last longer and are more resistant to moisture. It takes between one and three months to finish a piece.
Statistics
- Average lumber prices rose about 600 percent between April 2020 and May 2021. (familyhandyman.com)
- The U.S. Bureau of Labor Statistics (BLS) estimates that the number of jobs for woodworkers will decline by 4% between 2019 and 2029. (indeed.com)
- In 2014, there were just over 237,000 jobs for all woodworkers, with other wood product manufacturing employing 23 percent; wood kitchen cabinets and countertop manufacturing employing 21 percent. (theartcareerproject.com)
- The best-paid 10 percent make $76,000, while the lowest-paid 10 percent make $34,000. (zippia.com)
External Links
How To
How to drive a nail through wood
The first step in driving a nail into wood is to choose the correct size and type of hammer. Claw hammers include mallets, claw hammers (sledgehammers), mallets, ball-peen hammers, hatchets, and mallets. Each type of hammer has its pros and cons. A clawhammer works best when hitting something hard like nails. However, it can sometimes be difficult to see exactly where the strike is going. A sledgehammer allows you to hit large areas simultaneously, but it is too heavy and cumbersome to use for small tasks.
Once you have chosen the right hammer for you, put your hand flat against its side so that it rests comfortably in the palm of your hand. Grab the handle tightly, but do not squeeze too hard. The hammer should be held straight up with your wrist relaxed. You should then swing the hammer straight up, keeping your wrist relaxed. You should feel the impact of the hammer striking the nail. If you're having trouble getting the hang of swinging a hammer, practice with a block of wood until you get the rhythm down.
The hammer should be held close to your body when you are ready to begin driving the nail. To ensure that the nail is perpendicular on the surface of the wooden floor, position it. Your eyes should be focused on the nail's tip. Move the hammer forward and then continue to move the hammerhead. Repeat this action several times, gradually increasing the speed of the swing. Once you have mastered this technique, increase the power of your swings. Try holding the hammer above your shoulder and bring it down forcefully. This will help you put more energy behind each of your moves.
Once you've nailed the first hole, remove the hammer from the nail. Use a pry bar or screwdriver to pull out the rest of the nails. Keep the nail heads parallel to the board's surfaces in order to avoid splitting wood.